How to Avoid Cracks in Your Textured Art (And What to Do If They Happen)
You’ve just spent hours creating a beautiful piece of textured art, only to discover unsightly cracks appearing as it dries. It’s frustrating, especially when you’ve poured your creativity and heart into it. But don’t worry—you’re not alone. Cracking is one of the most common issues in textured art. The good news? With the right approach, you can prevent it or fix it if it happens. In this post, we’ll explore what causes cracks in textured art, how to avoid them, and what to do if they show up anyway.
Why Does Textured Art Crack?
Understanding the root cause is the first step to avoiding cracks. Most cracks in textured art stem from one of the following:
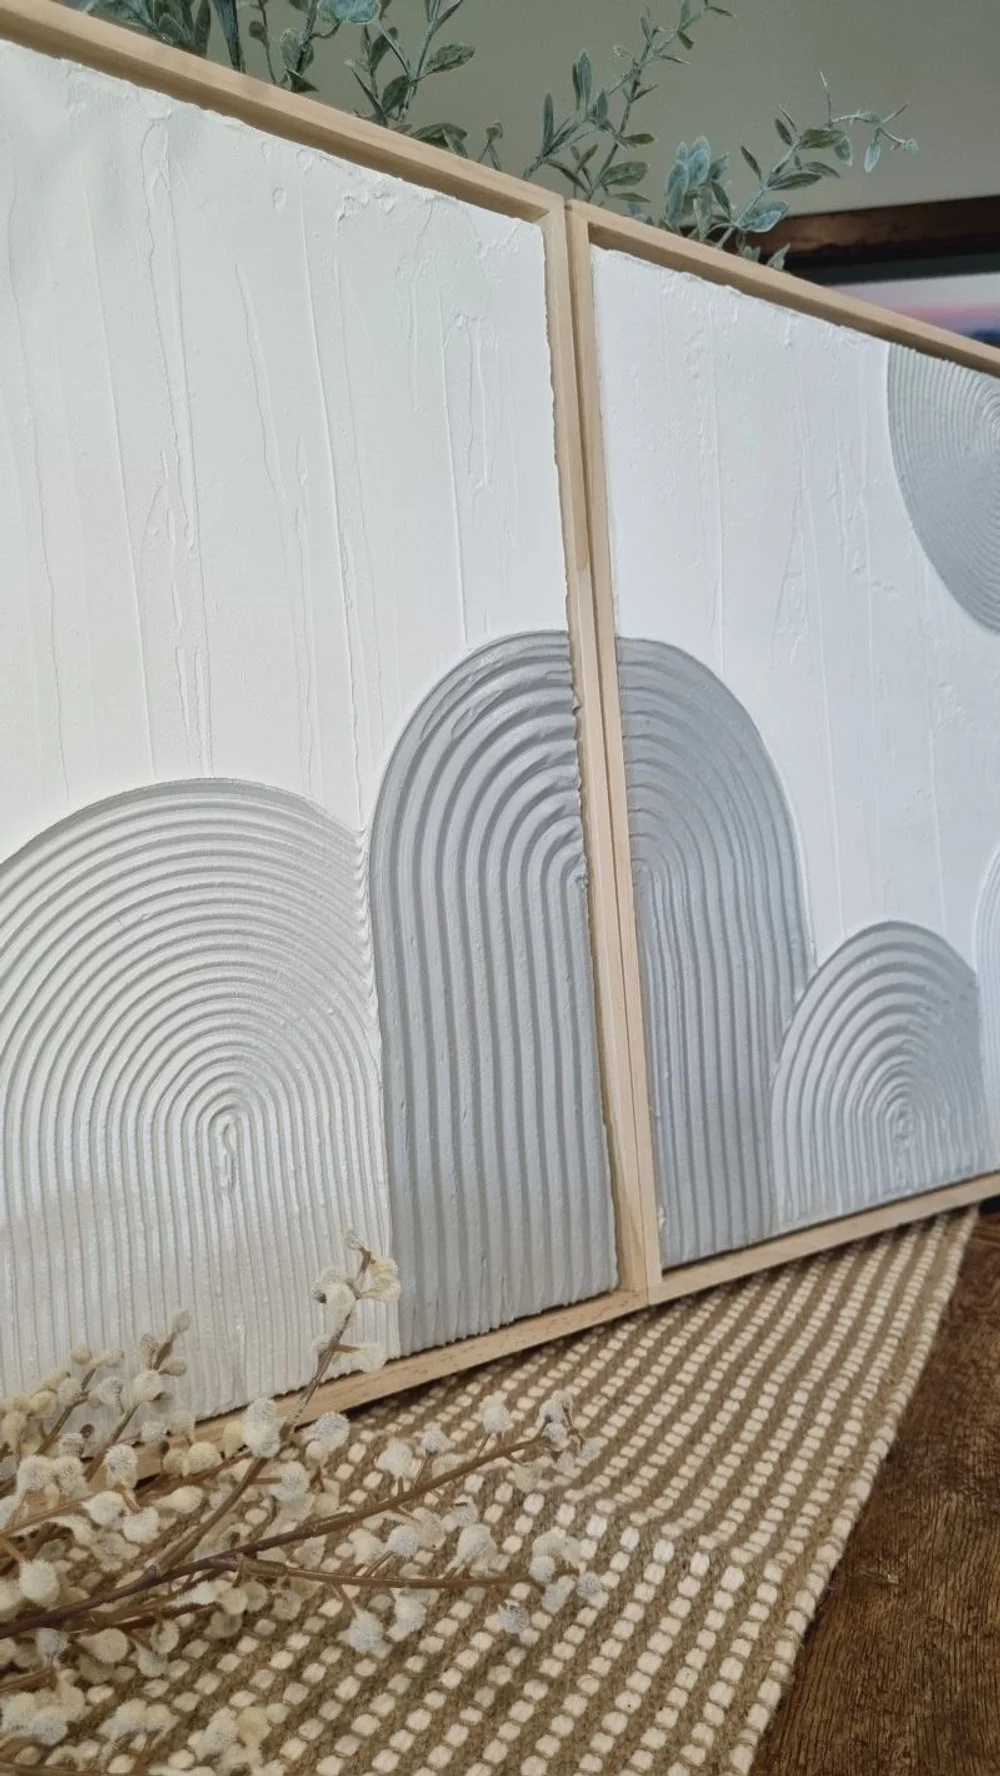
Overly thick application: When plaster or paste is applied too thickly, the surface may dry faster than the inner layers, causing tension that leads to cracks.
Inconsistent drying conditions: Drafts, direct sunlight, or high humidity can cause uneven drying.
Low-quality or poorly mixed materials: Inexpensive or improperly mixed materials lack stability and can shrink excessively as they dry.
Unsealed or dusty surfaces: Applying texture on an unclean or porous surface can interfere with adhesion.
Knowing these factors helps you work with intention and set your artwork up for success from the start.
How to Prevent Cracks Before They Start
If you're asking how to avoid cracks in your textured art, prevention is key. Here are a few tried-and-true tips:
Build up your layers slowly: Apply texture in thinner layers, allowing each to dry before adding more. This reduces internal stress and helps the surface dry evenly.
Control your environment: Work in a well-ventilated space, but avoid direct sunlight or fans that might dry the surface too quickly.
Use high-quality materials: Choose products that are designed for textured art and mix them thoroughly to avoid inconsistencies.
Prime your surface: Whether it’s a canvas or wood panel, priming ensures a sealed, stable base that holds the texture more evenly.
Not only do these steps reduce cracking, they help produce smoother, more professional-looking results—something your mum friends or creative clients will love.

Tips for a Crack-Free Finish
Here’s where you can elevate your work and stand out. A few bonus tips to keep your textured art creations looking flawless:
Avoid overworking the plaster or paste: Too much movement can weaken the structure.
Let each layer rest: Patience is part of the art. Rushing the process often leads to cracking.
Experiment with additives: Some artists mix a small amount of PVA glue or flexible mediums into their plaster for added durability.
These small tweaks can make a big difference in creating long-lasting handmade gifts or gallery-worthy wall art.
What to Do If Cracks Appear
Don’t panic. Cracks happen, even to pros. The key is knowing how to fix them:
For fine surface cracks: Lightly sand the area once fully dry and reapply a thin layer of texture paste to smooth it out.
For deeper or wider cracks: Use a palette knife to fill the area with fresh paste, feathering out the edges for a seamless blend.
Add design elements: If a crack can’t be covered, turn it into a feature. Highlight it with metallic paint or carve it into your design’s story.
Fixing cracks not only salvages your work, but also adds layers of authenticity and artistry to your piece
Embrace the Imperfections (When It Feels Right)
Not every crack needs to be hidden. In fact, many artists (and clients!) love the character that a tiny imperfection brings. Just like life, textured art isn’t meant to be perfect, it’s meant to be real.
Whether you’re creating handmade gifts, something for your home, or planning to sell textured art at markets, remember: every mark, layer, and texture tells a story.
Conclusion
Cracks in textured art are common but preventable. With the right materials, techniques, and mindset, you can enjoy the creative process without stress. And if a few cracks appear? Embrace them, fix them, or make them part of your design. That’s the beauty of handmade.
Ready to Start Your Textured Art Journey Today?
Looking for the easiest way to start creating beautiful textured art? I’m Brooke from Tipsy Textures and I teach beginners exactly this through my in-person workshops, online courses and free stater guide.
Download my free beginner's guide and discover everything you need to confidently begin your textured art journey, including:
A beginner's supply checklist (for under $10)
Three easy textured art projects
A 10-minute creative wellbeing exercise
Tips to help you build confidence and enjoy the process
Whether you've never picked up a palette knife or you're ready to reconnect with your creative side, this guide will help you take the first step.
Download your FREE guide here.
Want to learn more tips like these? Subscribe to my newsletter (you can Sign Up Here) or join me at a workshop at Tipsy Textures (you can Book Here) and let’s create something beautiful together.