
Plaster vs. Paste: Choosing the Best Medium for Beginner Textured Art
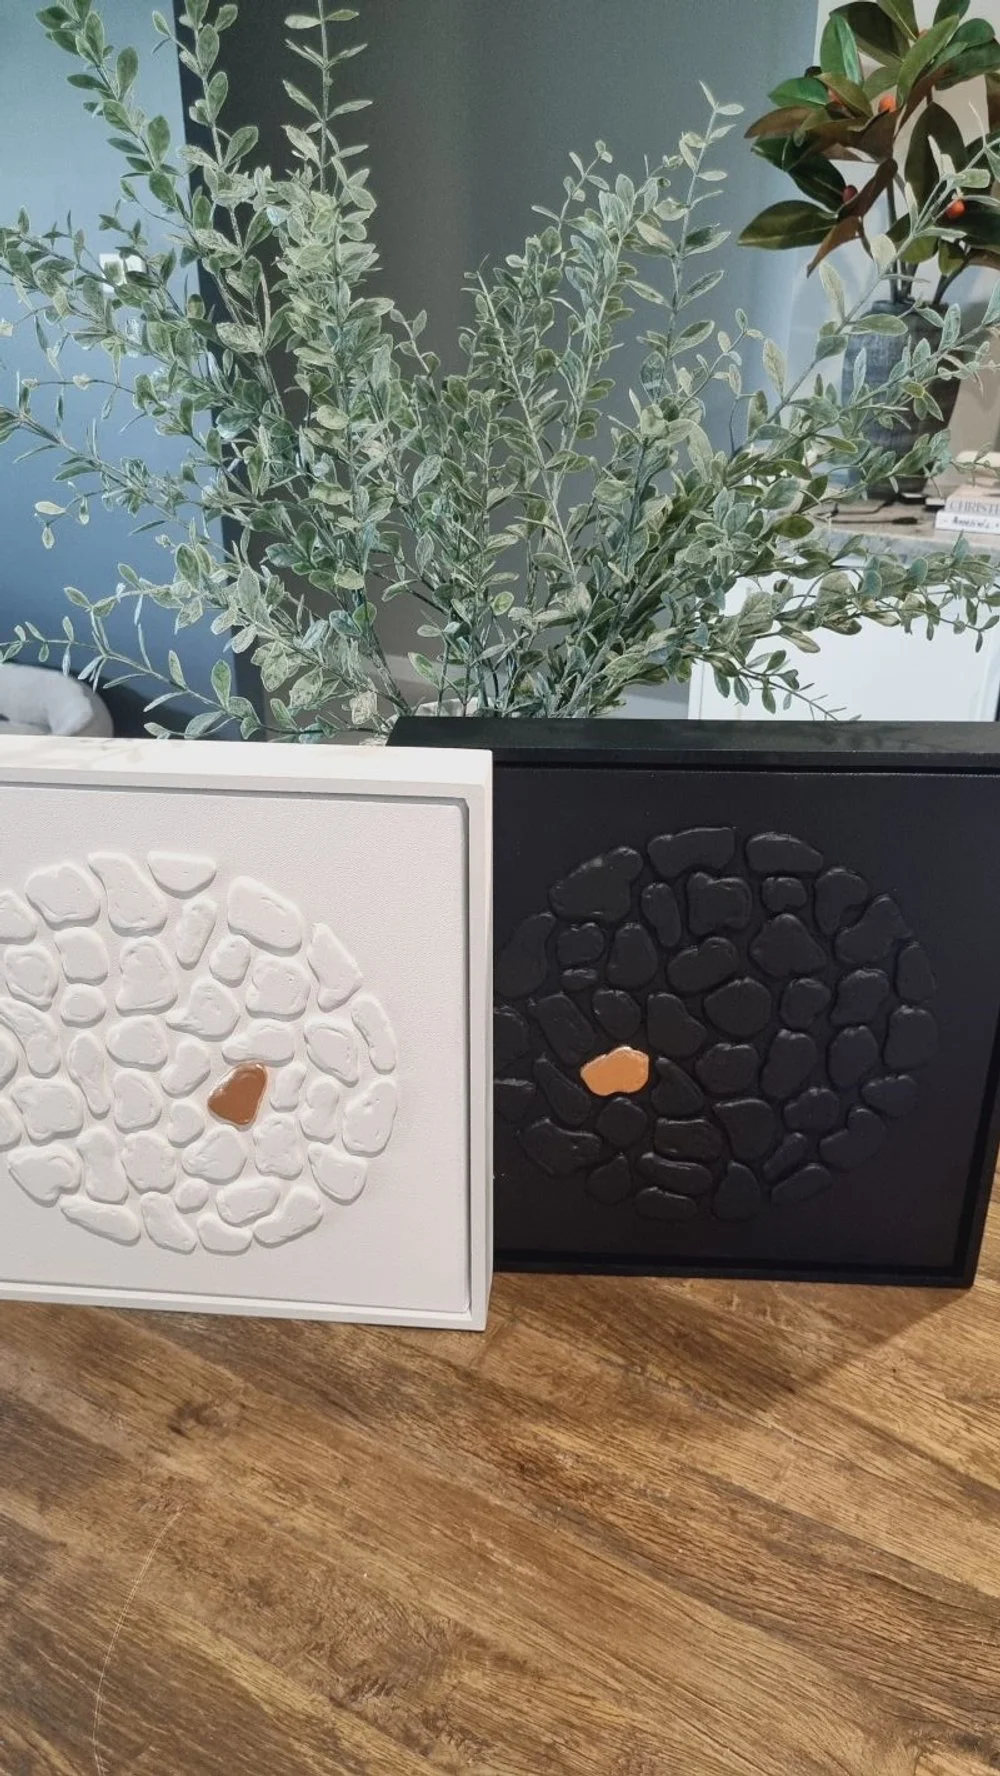
If you’re new to textured wall art, one of the first questions you’ll face is, “Do I use plaster or texture paste?” Both mediums can create stunning dimension, but they behave differently and offer unique advantages. Picking the right base from day one can boost your confidence, save you money, and set you up for success. In this practical guide, we’ll compare plaster vs paste head‑to‑head, costs, ease of use, drying time, finish, and durability, so you can jump into your next project knowing exactly which medium suits your style, goals, and budget.
What Exactly Are We Talking About?
Plaster
Commonly found in the hardware store.
Creamy, thick consistency, perfect for creating deep texture.
Dries to a matte, chalk‑like finish ideal for modern, minimalist looks.
Texture Paste
Available at art stores in tubs or tubes.
Formulated with acrylic binder, making it flexible and paint‑ready.
Usually brighter white straight out of the pot and holds fine details beautifully.
Knowing these basics will help you understand why each medium shines in different situations.
Cost & Availability
Plaster is your cheapest option, with the ability to purchase in large tubs, that keep for 12 months.
Texture paste is pricier per millilitre but comes ready to use and can be tinted easily with acrylics.
Ease of Use for Beginners
Plaster:
Mixing Required: The more you mix it the smoother it becomes
Application: It is thicker, and very malluable, but not flexible
Learning curve: Great for beginners to learn and practice techniques with
Texture paste:
Mixing Required: You don't need to mix
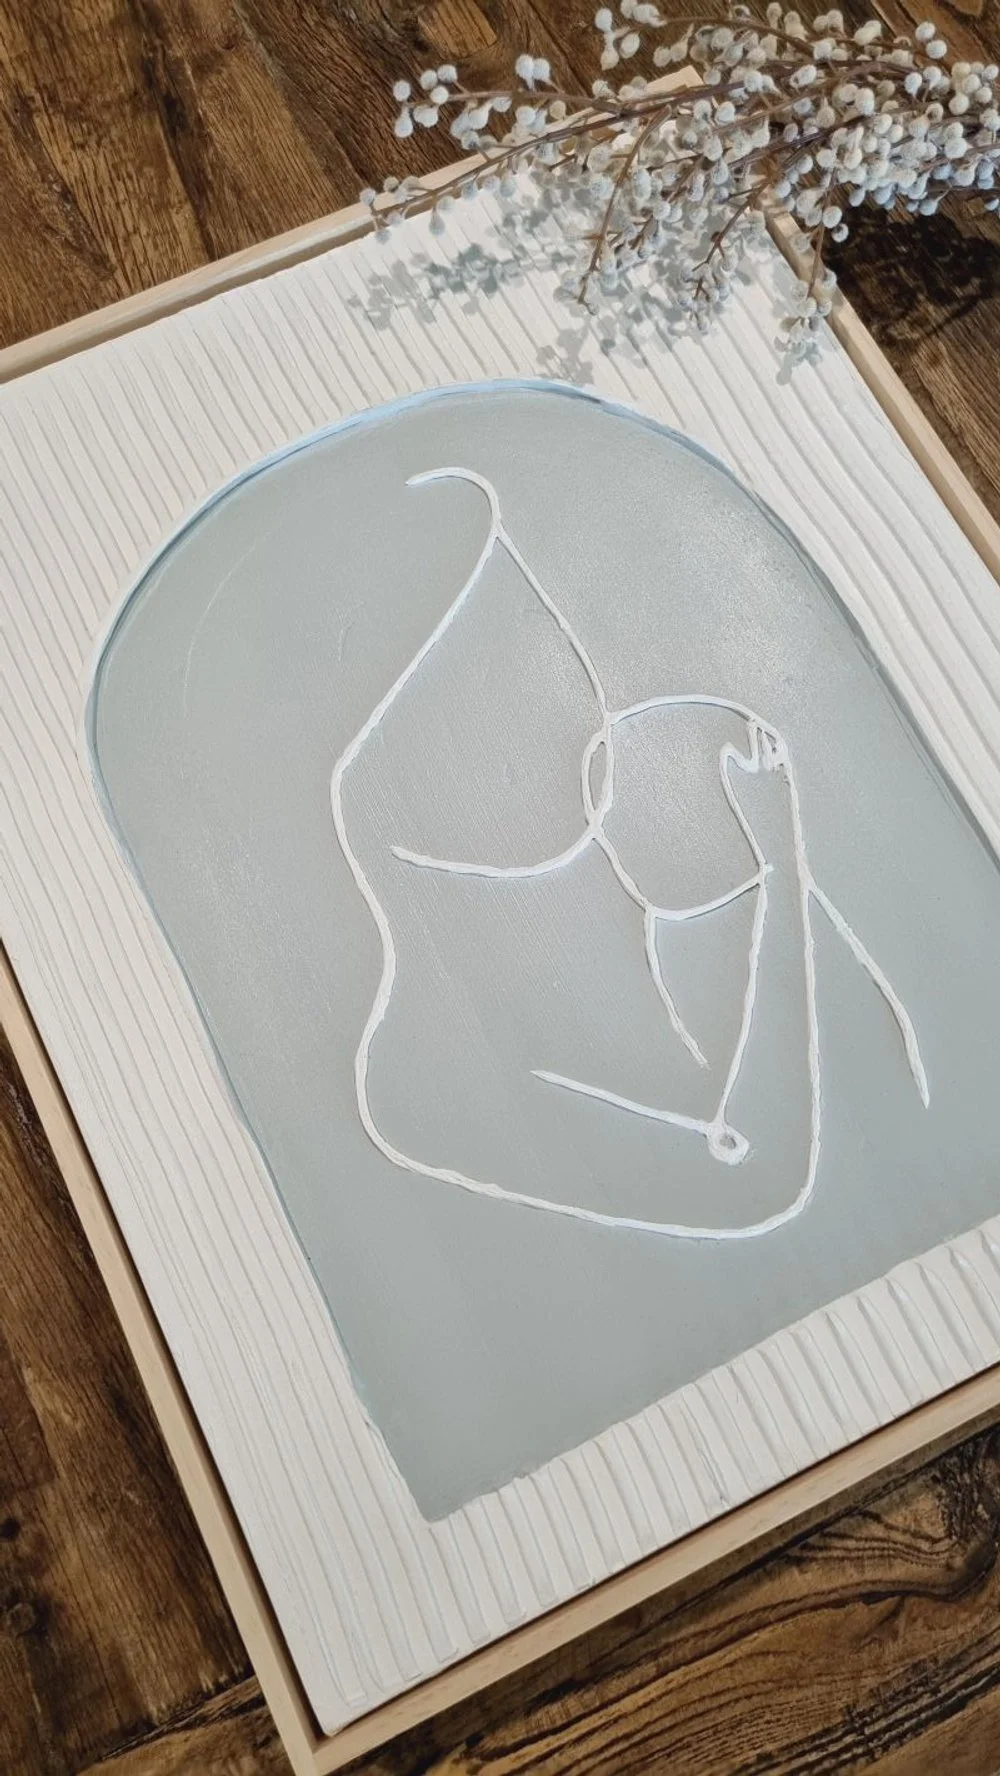
Application: It is thinner, flexible, and can form peaks
Learning curve: Can take some extra time to learn with
If you prefer more textured background, deep grooves and a longer working time, plaster is easy to learn with and master. If you prefer smooth patterns, high peeks and petals, paste might feel more intuitive.
Drying Time & Cracking
Plaster dries faster on the surface, which can trap moisture underneath and lead to cracks if applied too thickly. Work in layers under 4 mm and allow each to dry fully.
Texture paste dries evenly and can remain slightly flexible, reducing the chance of cracking, even on thicker applications.
Pro tip: No matter which medium you choose, keep airflow gentle and consistent. Rapid heat or direct sun is the enemy of crack‑free, beginner textured art.
Finish & Paintability
Plaster art delivers a raw, courser finish that will most likely require painting once it dries. The benefits of this is you can paint it whatever colour you choose. You can also sand it and seal with varnish.
Texture paste bonds seamlessly with acrylic paint because it shares the same binder. It usually stays brighter white and holds colour without yellowing. It cannot be sanded, but can be sealed with varnish.
Durability & Weight
Plaster is heavier and more brittle once dried. Great for canvases or wooden panels hung on a stable walls.
Texture paste is lighter, flexible, and less likely to chip in transit, perfect for artworks you’ll ship or gift.
Which Medium Is Right for You?
Choose plaster if you:
Want a cheap alternative to learn the techniques.
Love a courser, more textured appearance that can create deep grooves.
Are on a tight budget and buying supplies at a hardware store.
Don’t mind a little sanding or crack repair.
Choose texture paste if you:
Want vibrant colour effects with minimal prep.
Prefer a smoother spread and fine‑line detail.
Want to create high peeks and petals.
Prefer a lightweight and flexible finish.
Of course, many artists mix both, laying a plaster base for depth, then adding a thin paste layer for crisp highlights. Experiment and see what feels exciting!
Conclusion
When it comes to plaster vs paste, there’s no single “best medium for textured art.” It’s about matching the material to your creative vision and practical needs. Plaster offers affordability, bold texture, and a raw aesthetic. Paste provides ease, colour versatility, and flexibility. Start with one, play with both, and let your experiments guide your signature style.
Your Creative Reset Starts Here
If this blog has inspired you to give textured art a try, don't stop here. I’m Brooke from Tipsy Textures and I teach beginners exactly this through my in-person workshops, online courses and free stater guide.
My free guide will show you exactly how to get started without spending a fortune or feeling overwhelmed. Inside you'll find a beginner's checklist, three simple designs, a 10-minute Creative Reset, and perhaps the most important page of all... permission to be creative.
Because creativity isn't something you're born with. It's something you rediscover.
Download your free guide today.
If you’re ready to explore and learn more, subscribe to my newsletter. Plus, if you want to connect with other likeminded artists, from beginners to experienced, join my Facebook Group, The Texture Life Journey.

